So we live in big clay land out here in most of the PNW. That means soils that aren’t very conducive to growing anything but PINE, FIR, CEDAR, and ALDER. Well, we want to put in a small orchard. That’s been a thought tickling the back of our minds since we started looking at land. Our chosen amendment as we plan the shaping of our property is biochar. And we need a fair amount of it.
What does that mean? Well, it means we had to make some of it because it’s not just any old charcoal. It’s charcoal burned in a low Oxygen environment and then inoculated with nutrient dense materials like manure, urine, or compost tea. Basically think of the structure you’re building when burning wood to near completion. You’re basically keeping it whole or making it into large chunks but creating a lot of tiny fractures in it. Why is that good? Well, those tiny fractures are really great homes in poor soil for things to live in. It keeps a space underground that is open, oxygenated, and can store water and nutrients within fine particulate soil. That’s a great home for all the microbiata of the soil i.e. fungi, bacteria, nematodes.
So here’s how we approached it. THIS IS BY no means advice on how to do this. This is just a document saying how WE did this. We also did this during rainy season. I would not recommend doing a burn of this nature at ANY POINT coming up to dry season in the PNW or during the dry season. Anyway, here’s what we did.
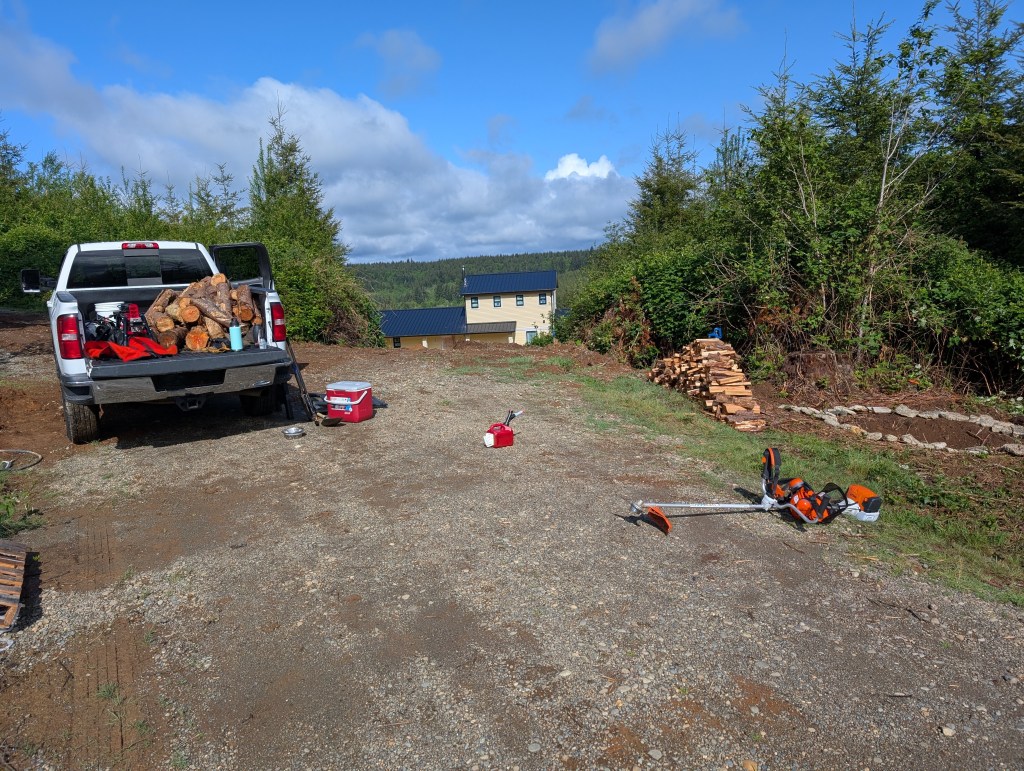
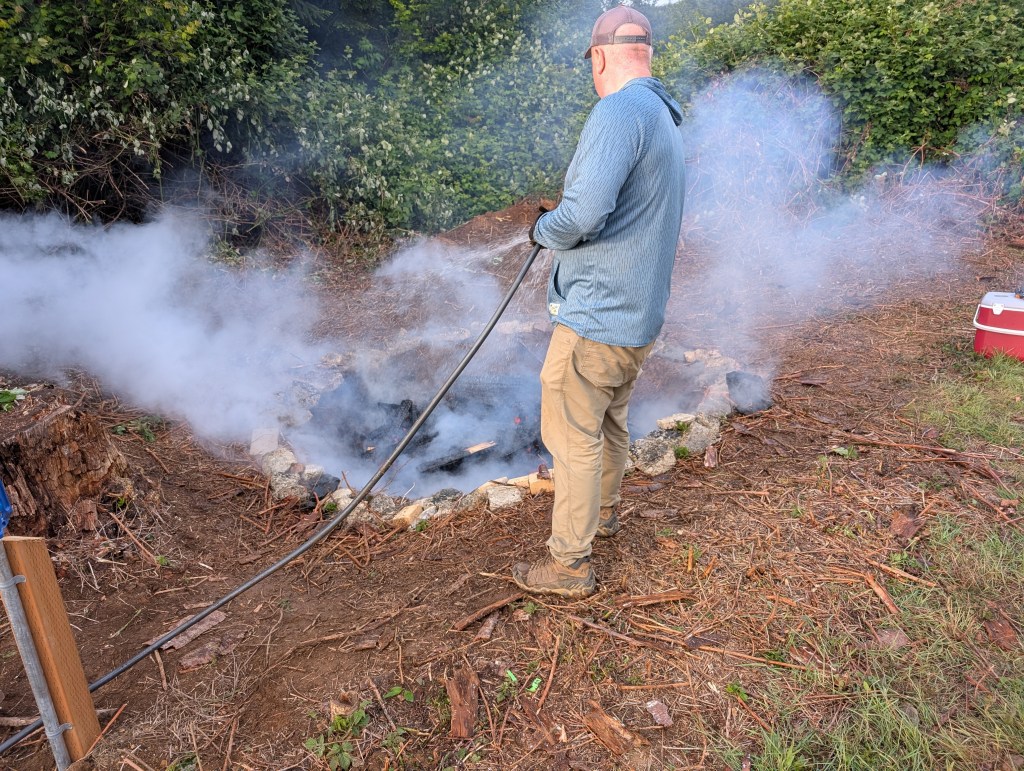
- Have a hose ready. We knew we’d have to quench this beast eventually and we wanted water on standby. I personally didn’t want to quench with earth just because it’s going to take time and you’re going to have to shovel a lot of earth over your VERY hot burn. It just felt much safer to quench with and have water at the ready.
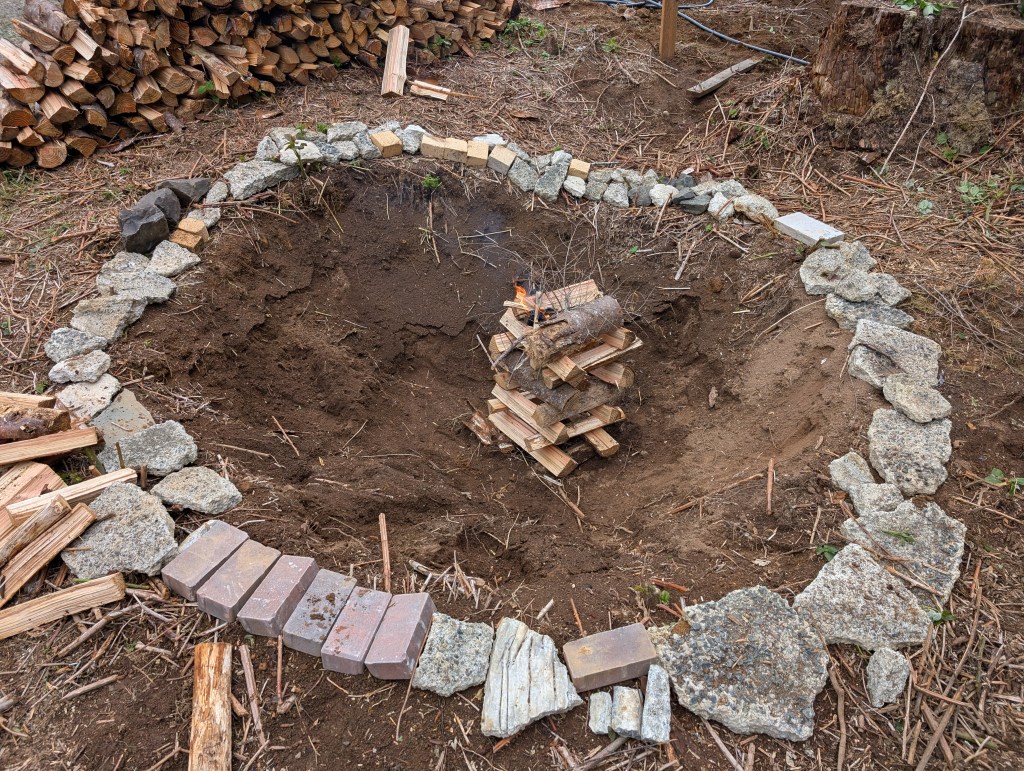
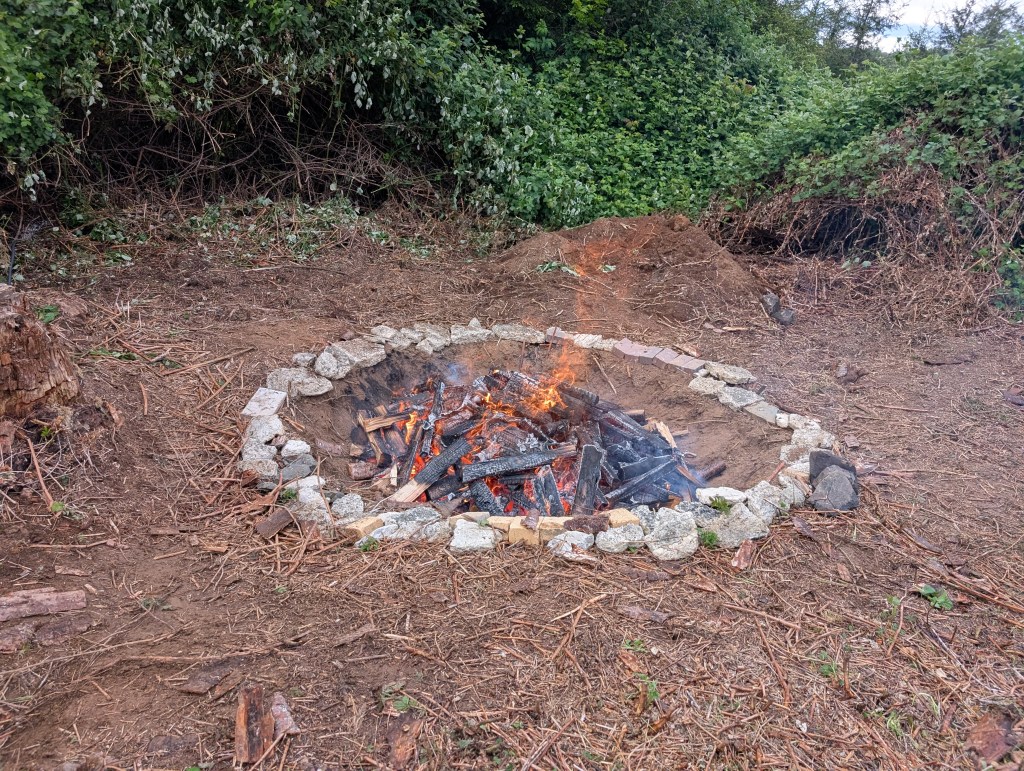
- Dig your pit. We made a conical pit that had sides we could walk into and out of with relative ease. It gave us the ability to start the fire relatively easy and it felt manageable. It also allowed air to flow into the center of the fire to get it to the desired temperature.
- Have your initial stack ready to go and any wood you’re going to add ready as well. You need a fair bit to get this thing completed so plan accordingly. We split a stack of about 12-15 doug fir, alder, and cherry that were all about 12-15 years old.

- Stack accordingly. You want an open flow at the beginning to start things and you want to start up high so you’re encouraging air flow up the stack.
- One thing we didn’t think about was kindling. Thankfully our forest is FULL of elderberries that are just starting to get outcompeted by the douglas fir. I cleaned out a whole area of those along with some low alder, fallen hemlock, and dead alder branches to fuel this while it was starting.

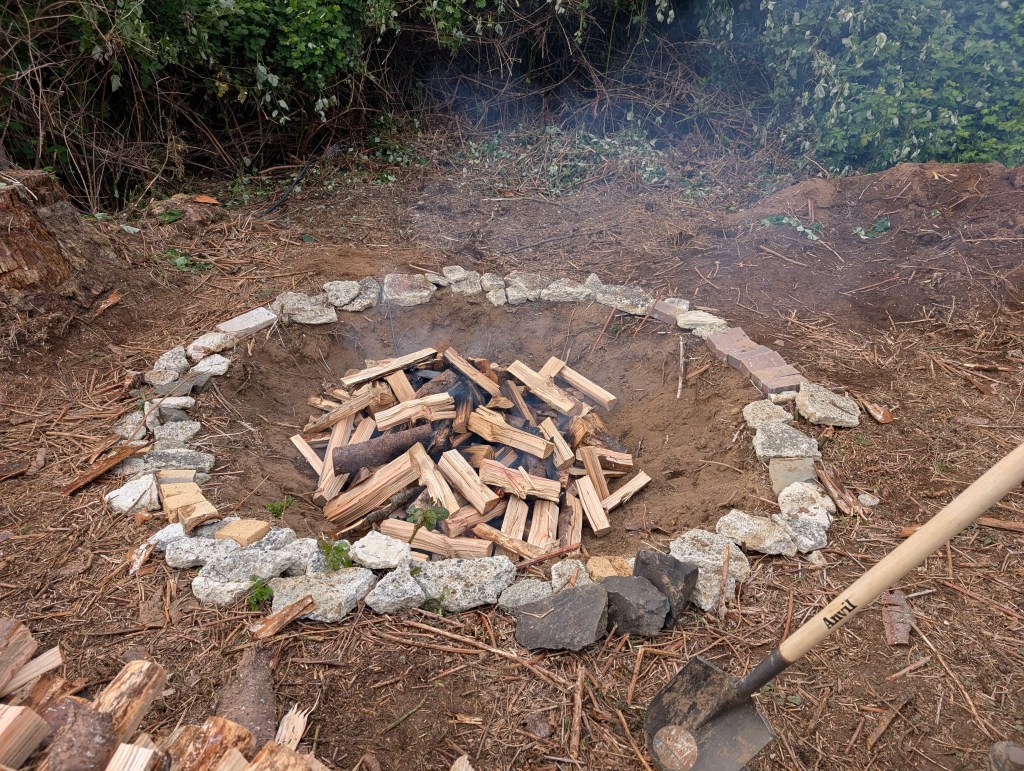
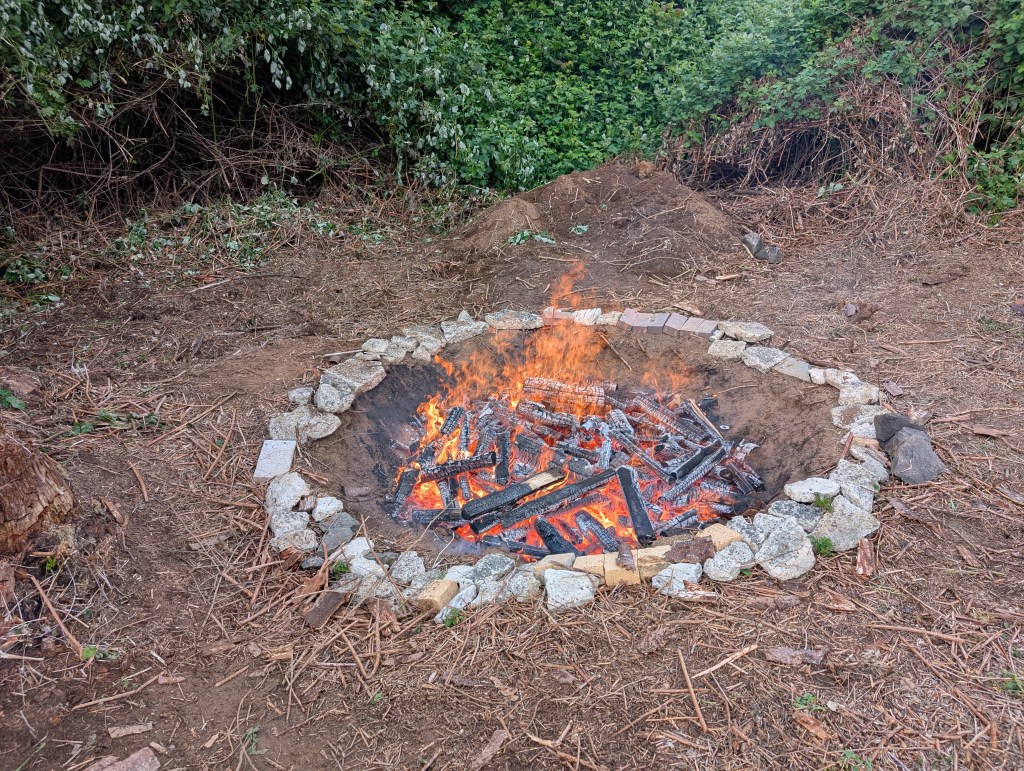
- When the flame and coals started to get a bright red we knocked over the fire and started stacking fuel.
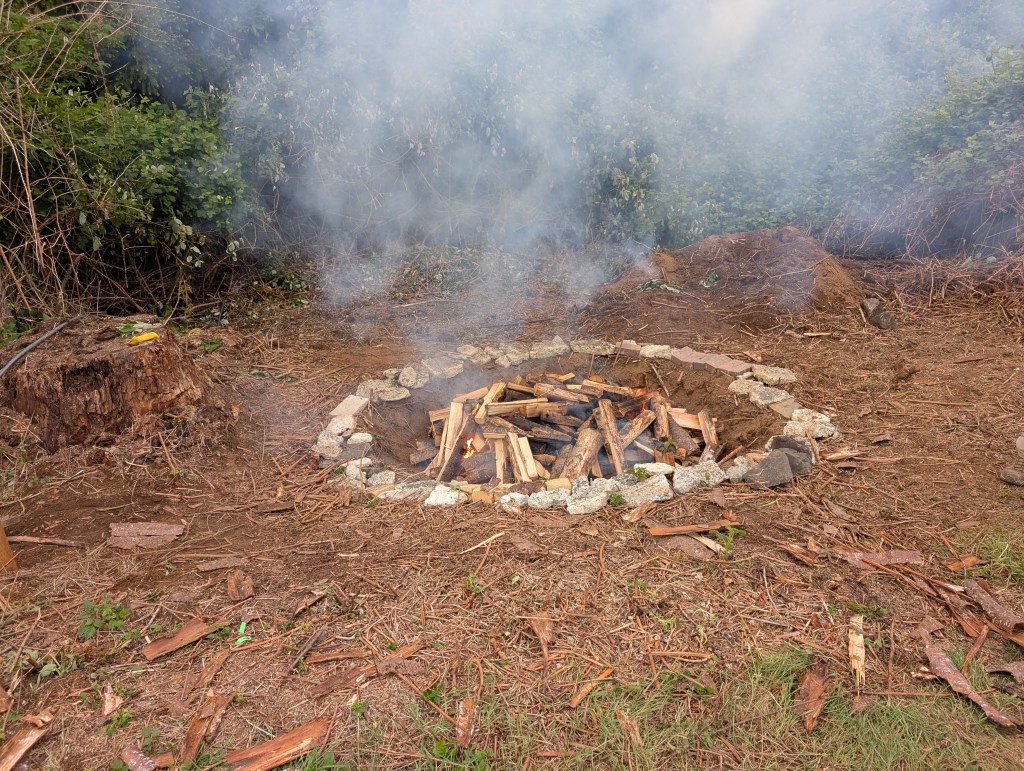

- So we wound up quenching a little early out of an abundance of caution and due to the fact that it was 7:30 PM and our day had started at 5:00 AM and we still had a long drive back to the city that day. Regardless, we’re pretty happy with our results.
- When you’re ready to quench hit it with a LOT of water. Be aware there will be a LOT OF STEAM. I MEAN A. LOT!

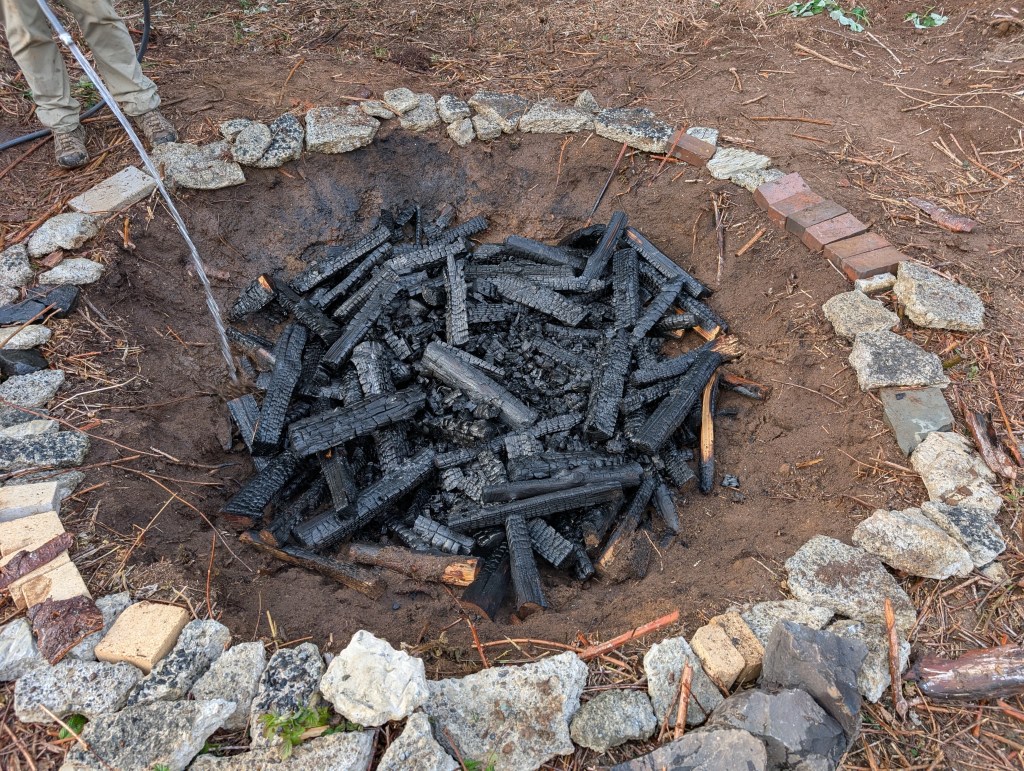
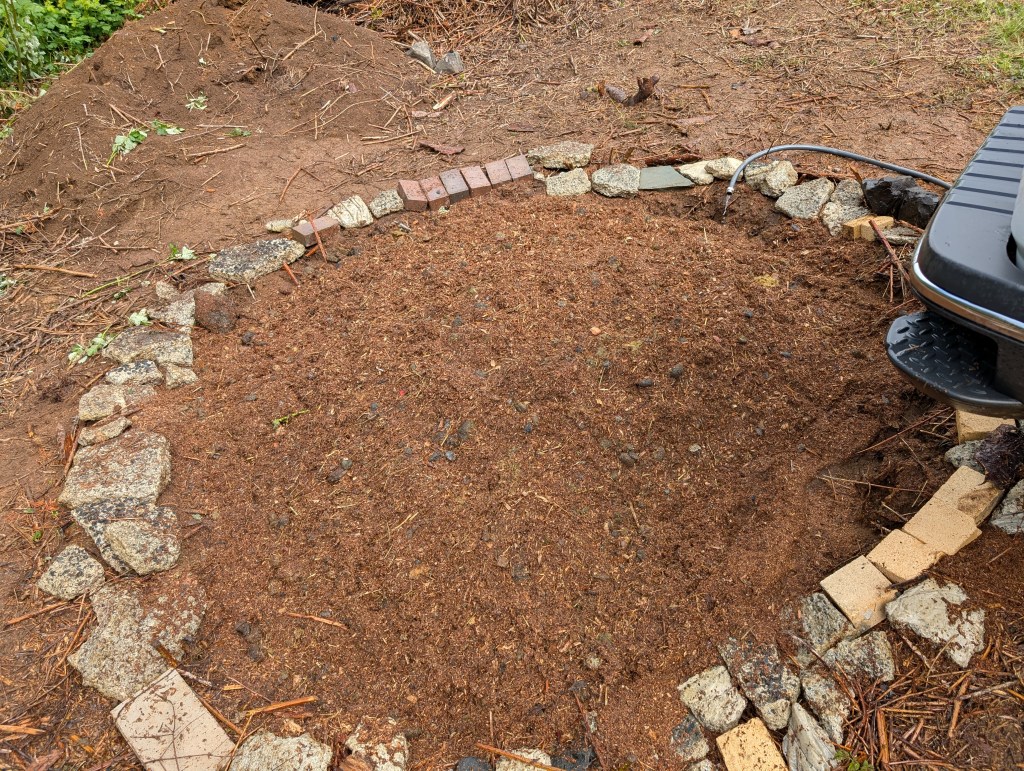
- Below is what we were left with. We still needed to hit it with something to inoculate it with. Biochar on its own is a nutrient sink. You can’t add JUST that to the soil. It will leech all the good stuff out of the soil until nitrogen fixers provide it with a critical mass. So that’s why we covered it in a rich truck full of compost we got to let it sit til winter when we’ll dig it up and use it to enrich the soil in our planned orchard.
If you have questions about our process let me know. It was really a labor of love. We could’ve just bought lots of yards of topsoil at top dollar but we’re trying to use the resources we have to the best of our ability. All the trees used in this were harvested during the earthworks for the house so this has been an exercise in reuse and a labor of love.

Leave a comment