Well, I know this isn’t exactly homestead news fresh off the presses but the holidays started in October this year with a wedding and we’ve been swamped since then so I’m just coming up for air. Honestly, since we decided not to preserve this year because of the likely move come the spring I feel a little conflicted making this post. But, it’s the holidays and I love a project so I found one. Maybe two.
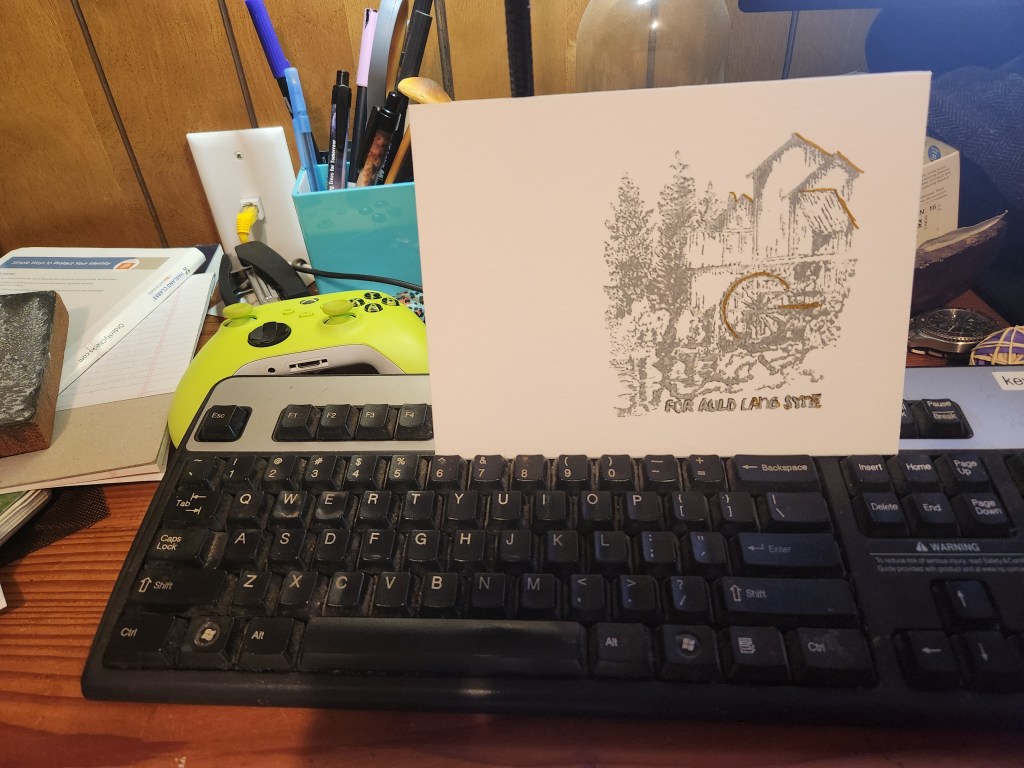
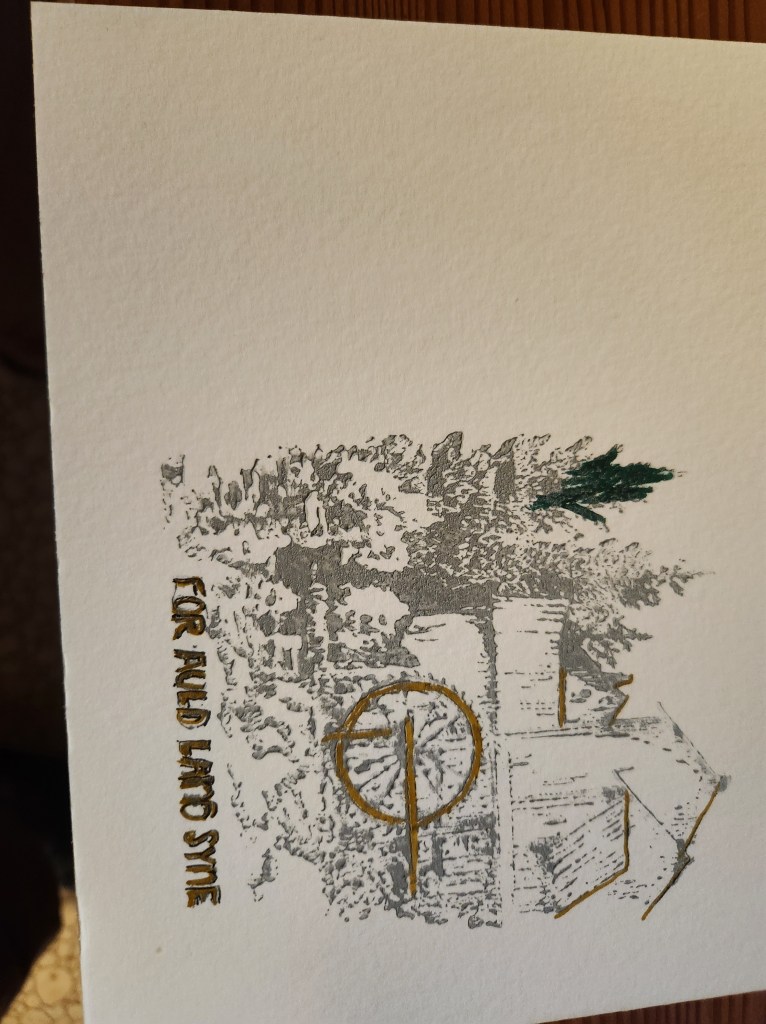
A few years back in the spring, while the hubs and I were rummaging through antique shops looking for deals we found a beautiful quartet of engraved stamps for holiday cards. I fell in love with them and at $20 a pop I thought getting two might keep me in Holiday cards for years to come. I put them in with our holiday stuff and there they stayed until this year when I pulled them and some ink out of my craft supplies along with some card stock we had laying around and here’s my project. Homemade Holiday Cards!
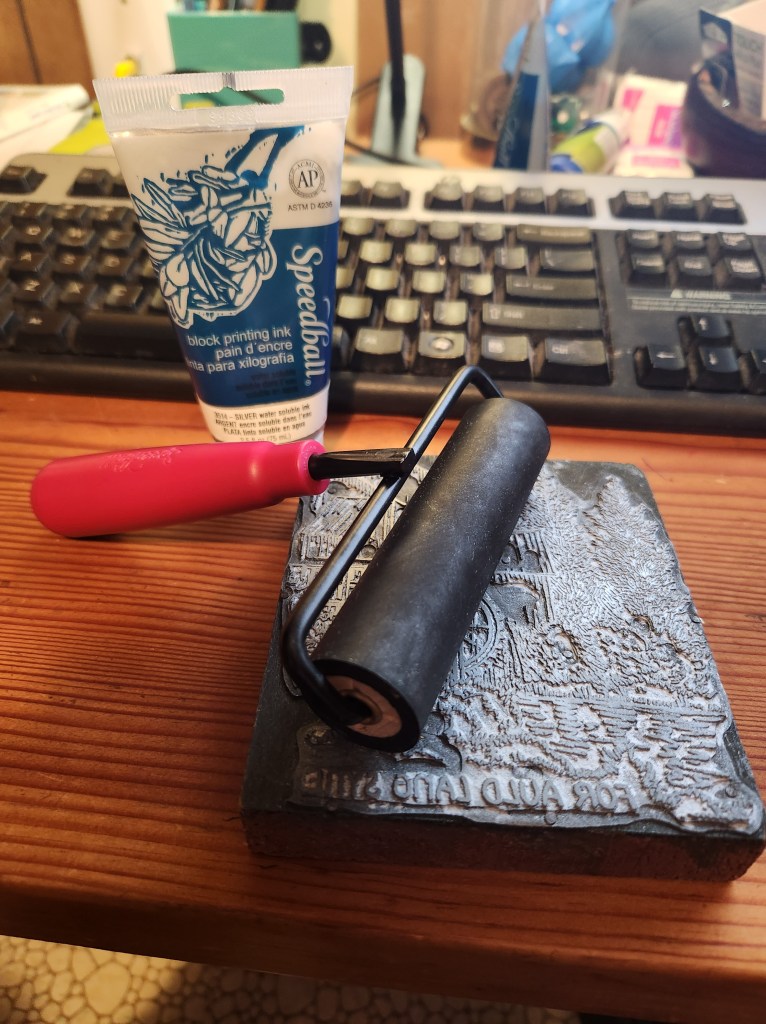
Let’s start with the basics. What will you need to hand block print your own christmas cards. Well, the answer is 5 things. Three of which you can see in the photo below.
- Paper – Think card stock. Something that’s going to hold up to the shit treatment of our postal system.
- Ink – I like Speedball. They make nice stuff. I had this metallic silver laying around. I will caution that metallics are a little thicker and thus a little more challenging to work with but I think the results were worth it for my first year doing block printing since undergrad. Shush. Yes I am that old…
- A Block Print – You can make your own if you’re feeling ambitious or you can try to find one. It’s up to you. Next year maybe I’ll try my hand at making my own linoleum block print. Again, it’s been ages but I’ve done it and I have an idea of what might be next. (If you’re making your own remember you’re making a mirror image when printing so think about that if you’re adding text!)
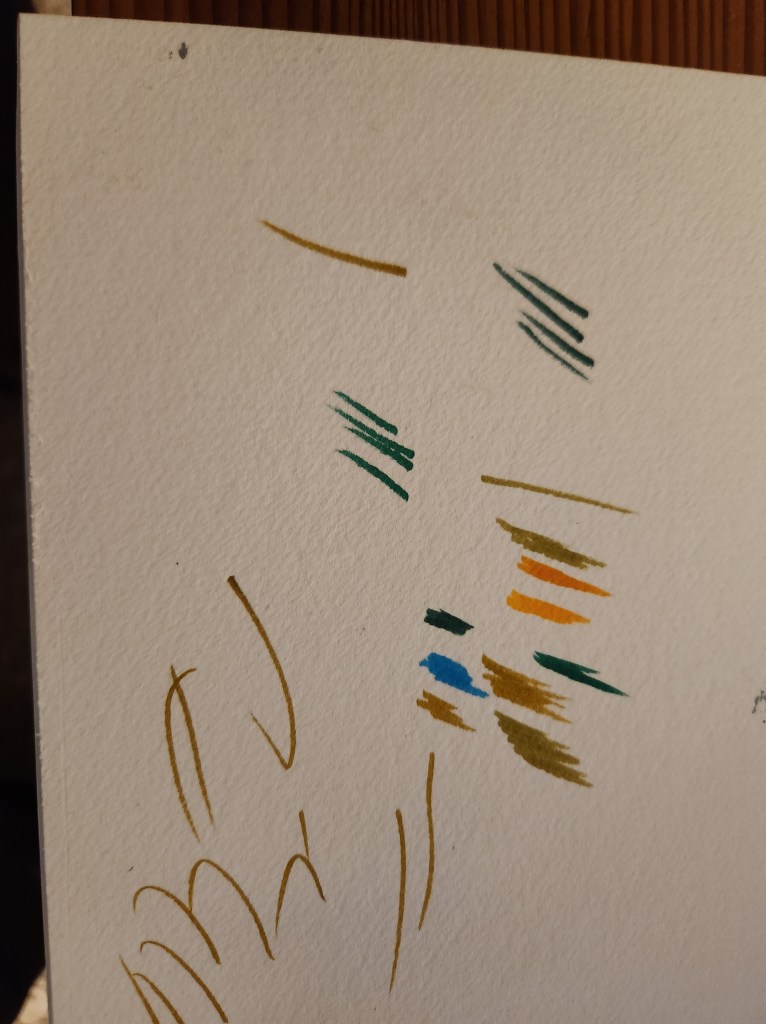
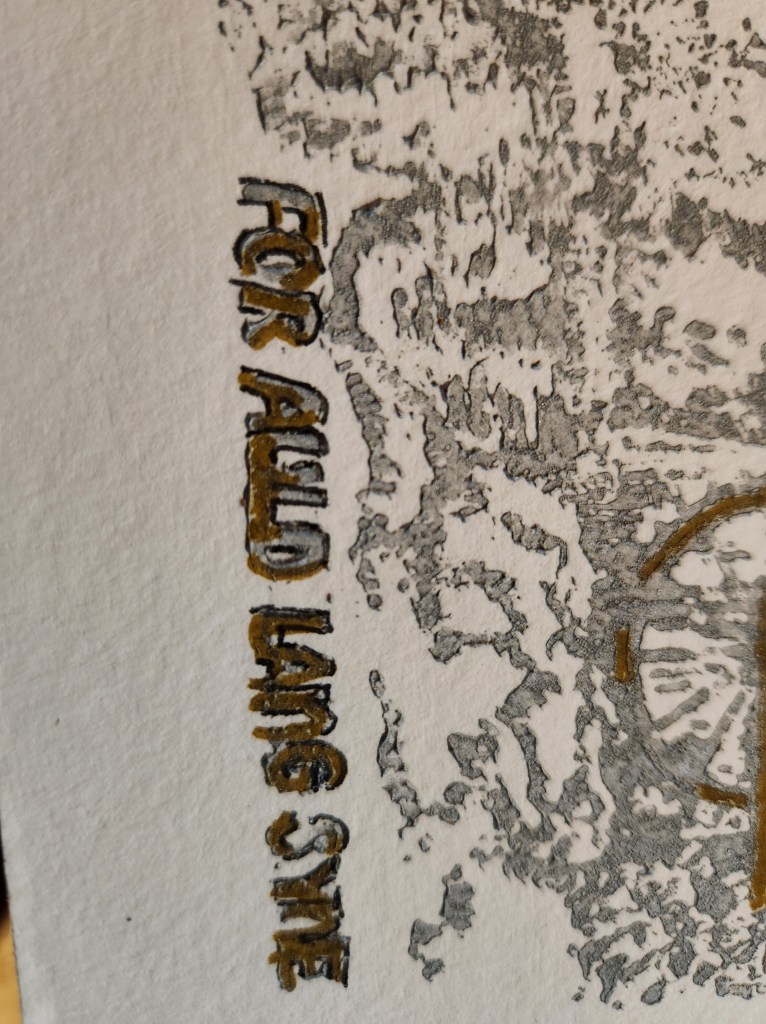
- An Ink Pen – I like micron for things like this, but I didn’t have one so it was Pilot G-2 gel pens to the rescue. This is a home craft. Get creative with what you have.
- Envelopes and Stamps – Remember depending on the size card you make you may be relegating yourself to custom envelopes or weird folds. Think about that as you’re planning.
- Whatever else you want to embellish with. I always have Tombow water based markers on hand and they came in handy this year. Some people like glitter. Some people by custom washi tape to run along the edges of the envelope. Whatever you choose is up to you but if you make a glitter bomb some of your guests may never forgive you. Just sayin’!

The process of block printing isn’t terribly challenging.
- Have a surface for rubbing ink onto the brayer to get a nice thin coat.
- Rub your ink from your brayer onto the block evenly.
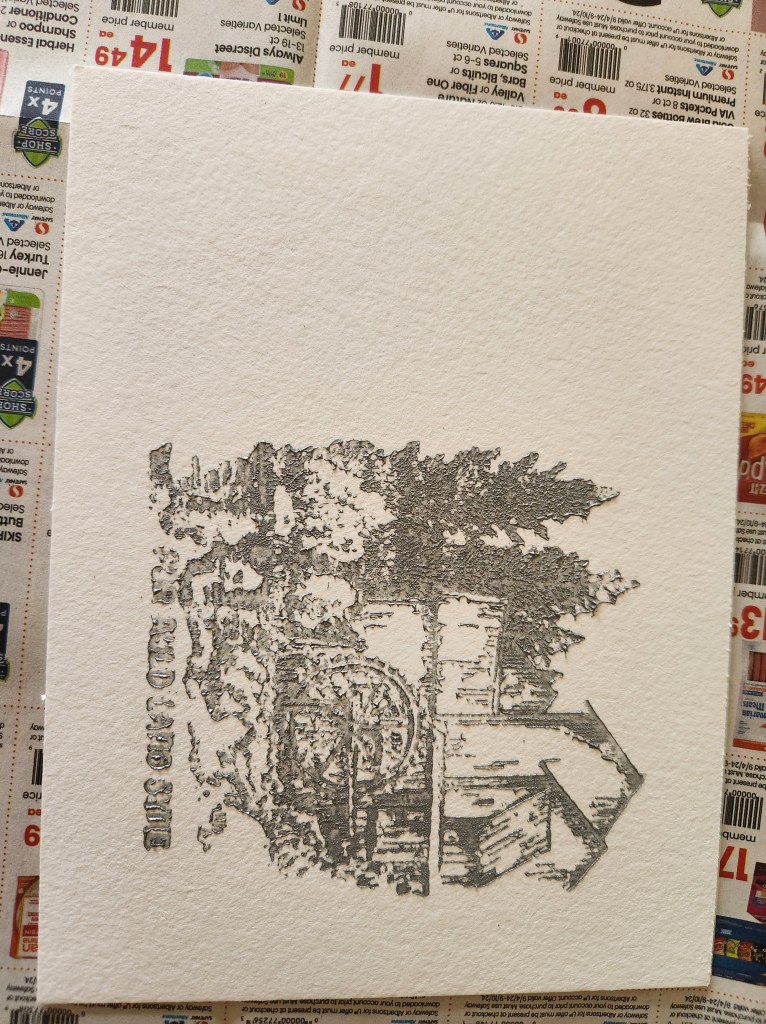
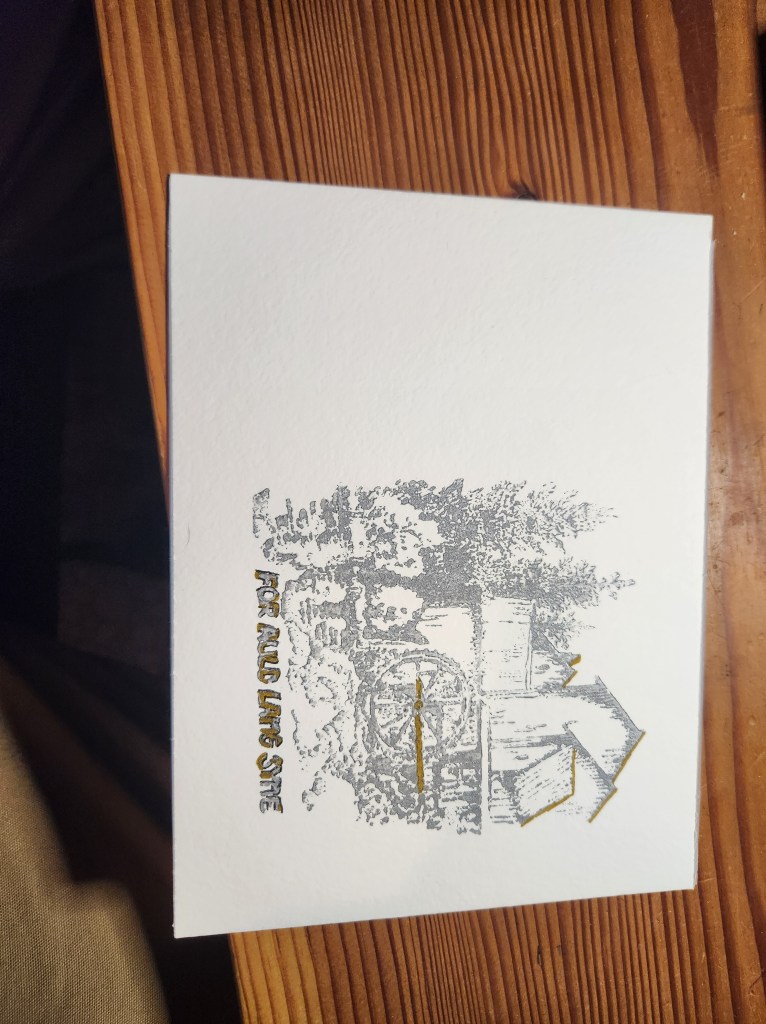
- Put your block down on your paper making sure to leave a gap to be cleaned up in trimming.
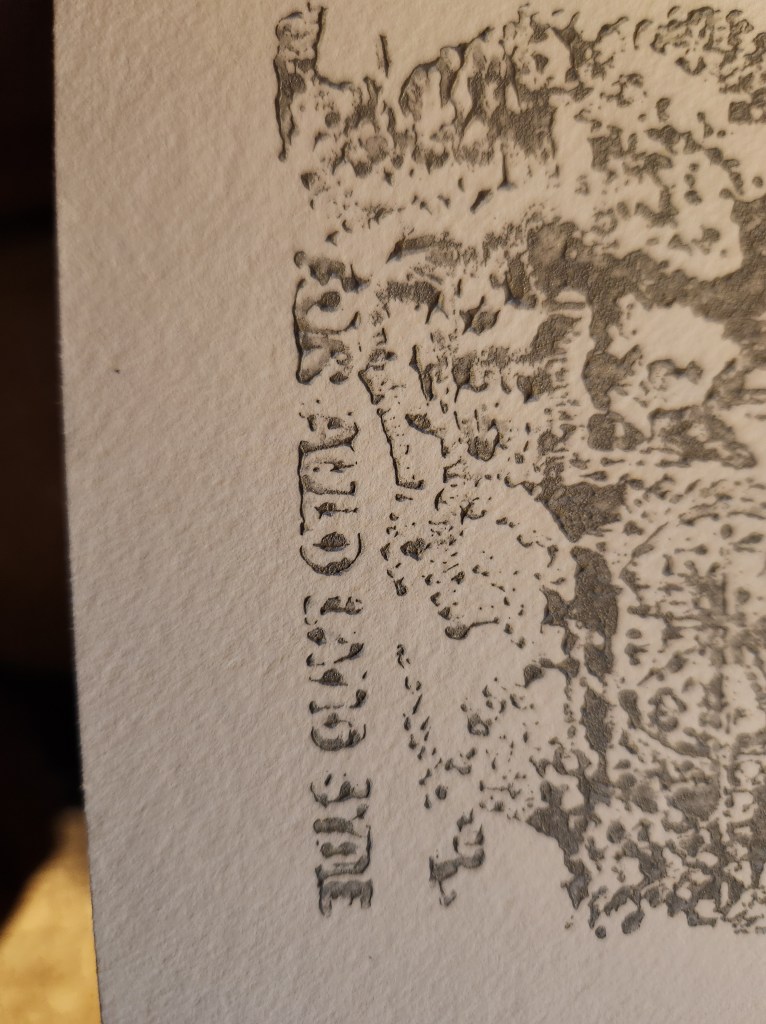
- Apply pressure. After your first print evaluate where you may need more pressure. Mine really needed permiter pressure but every block has different needs to insure image fidelity.
- Let’em dry.
Now I just have to collect addresses, write notes and get these in the mail. Wish me luck!

Leave a comment